
Hey everybody, Catsi here. Again. I'm doing another art post (yay!), this time on drawing body proportions.
I won't spend forever rambling about art before we get into the tutorial this time. All I have to say is that this is just my way of drawing bodies. There are tons of other ways--just google it. Try different styles, and find out what works for you.
So here we go.
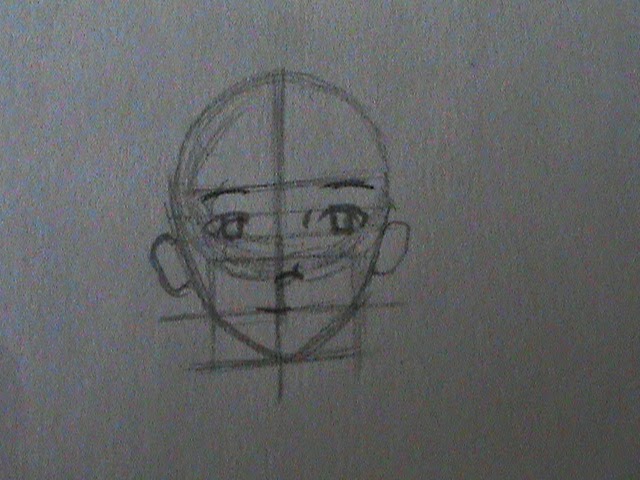
Step one: Draw the head.
If you missed my last tutorial on drawing faces, here's a link: http://windowtothesoulcontests.blogspot.com/2014/03/how-draw-manga-face.html

Step two: Add circles for the body.
A smaller one for the upper torso, and a larger one for the hips.

Step three: Circles for legs and arms.
I only drew one circle for each arm, since the pose I'm drawing will have the character with her hands behind her back.

Not a step: Proportions
I just drew a few brackets to give you an idea of how everything is proportioned, using the head as a comparison. Each bracket is one head long.

Step four: Out line the torso and arms.
Take your time, and make sure that everything looks like the way it should be.

Step five: Outline the legs.
Again, take your time. Try to make the legs look symmetrical.

Step six: Feet.
I have the toes pointing toward each other in this picture, but feel free to experiment and do them however you like.

Step seven: Add clothing.
This may look like a complicated step, but it's not too hard. Just have fun and draw her clothes in your favorite style. A few wrinkles here and there will add a bit of realism to the drawing.

Step eight: Outline the hair.
I've chosen to give my character sideswept bangs and a single braid over her shoulder. It's just the rough outline at this point--I'll make it more detailed later on.

Bonus tutorial: Braids, step one
I erased all the lines under the braid, just so I can see to work.

Bonus tutorial: Braids, step two
Don't try to make the exact shapes that I have drawn--they're not supposed to be perfect. Just make a few heart-ish-diamond-ish shapes, getting smaller as you go down the braid. A little ponytail on the end finishes up the outline.

Bonus tutorial: Braids, step three
Add a few lines for the strand of hair every here and there, making sure they're going in the right direction for the braid. Voila! Done.

Step nine: Darken your lines.
Make sure not to darken the guidelines your drew early on--you want to be able to erase those in the next step.

Step eight: Erase guidelines.
If you drew your guidelines lightly enough, and your outlines dark enough, you'll be able to erase the guidelines easily and not have to stress over accidentally erasing a line that you want to keep. Even if you do erase one, it'll be dark enough that the mark will still be on the paper, and you can go back over it.

Step nine: Finishing touches!
Sign, date, and add extra lines in the hair and clothing. Ta-da! You're all done.
A few quick tips for you:
In this tutorial, I had my character's feet pointing toward each other. I think that makes her look cute, and conveys an air of innocence.
If you so choose, you can spread the legs farther apart, making your character seem more determined.

I've also got a nice little reference sheet of different poses for you. Move around an arm or leg by changing to location of a circle, and make an entirely new pose!
.JPG)
(I've left the guidelines unerased, so you can see the circles underneath the clothing.)
Well, I guess that's it. Hope you all had fun! If you have any questions, just post in the comments.
Also, I'd love to see how your drawing turned out! Feel free to email it to us, at windowtothesoulcontests[at]gmail.com, or if you posted it on your blog, drop us a link in the comments.
We have an art contest going on right now. You can view the guidelines here: http://windowtothesoulcontests.blogspot.com/2014/05/mother-art-contest.html
Yay! I love the art tutorials! Thanks, Catsi!
ReplyDeleteAw, thanks, Fury. :) I hope they're helpful.
Delete